Sidonie Straughn-Morse
Printmaking
Handweaving
About
Printmaking
Handweaving
About
instagram
All Weaving
View Gallery
All Printmaking
View Gallery
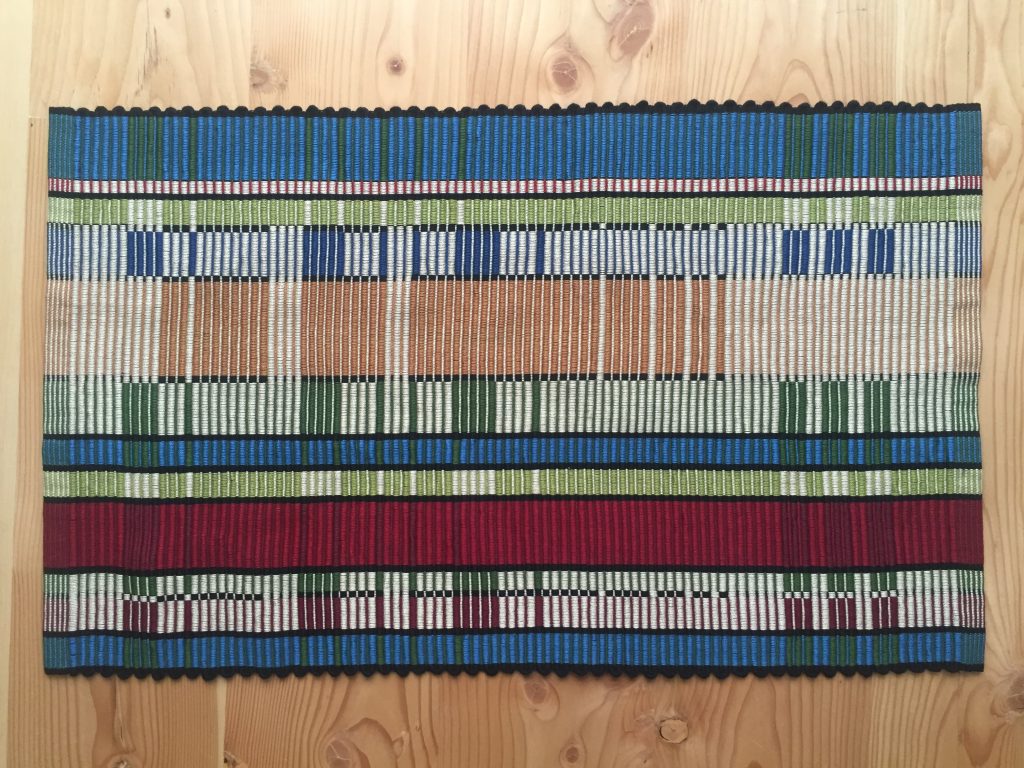
Ripsmatta
Rep Weave
View Gallery
Theo Moorman Technique
View Gallery
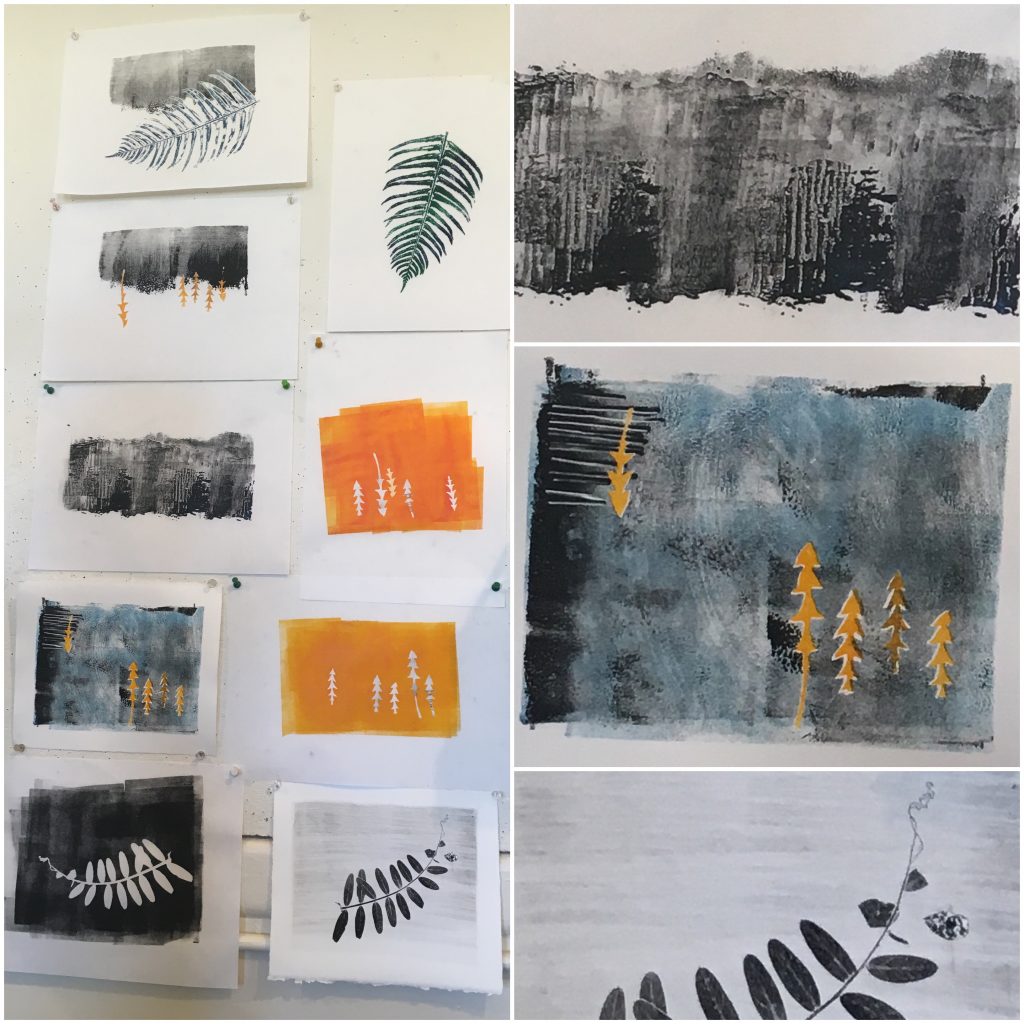
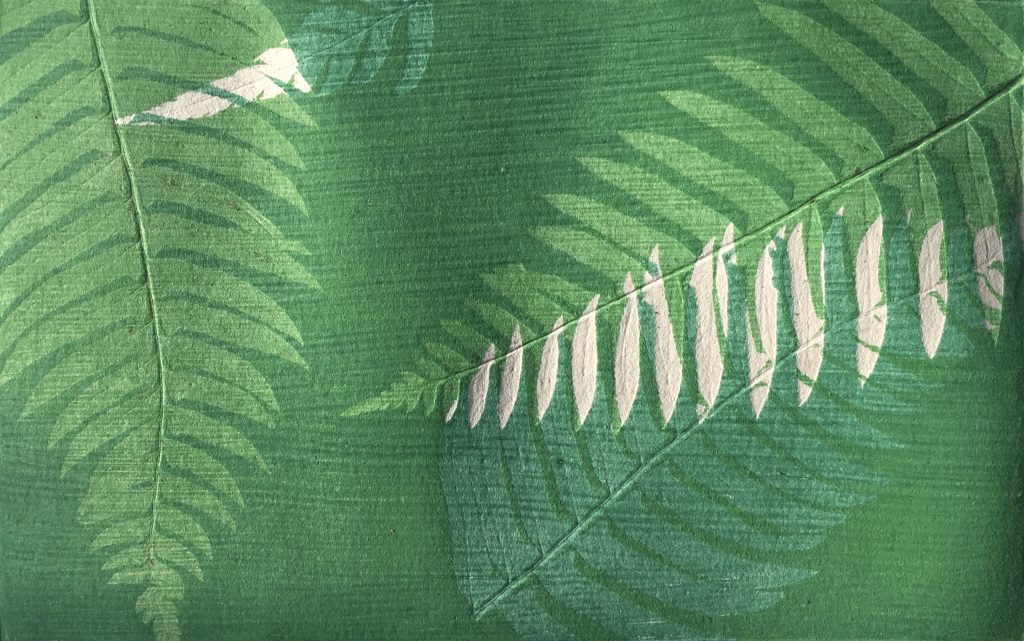
Botanical Prints
Inspired by the woods of the Pacific Northwest
View Gallery
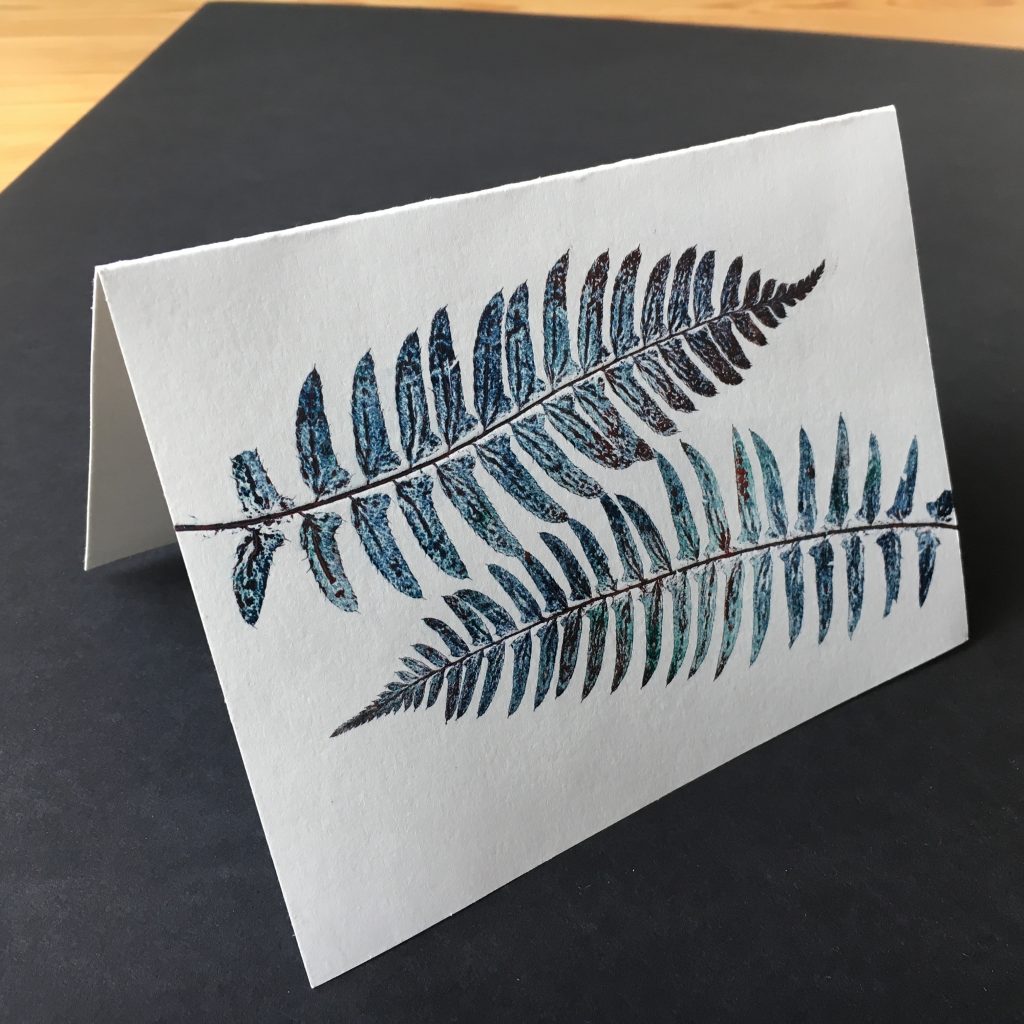
Printed Cards
View Gallery
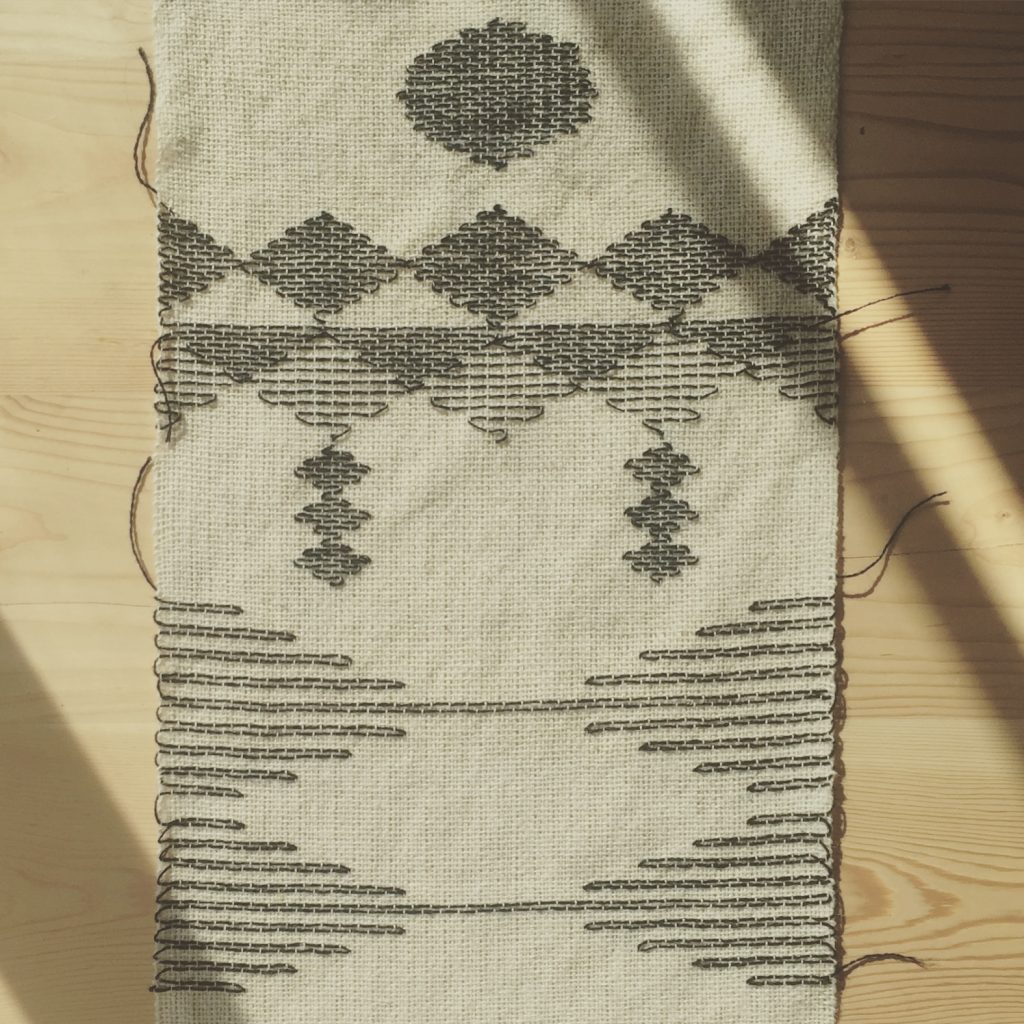
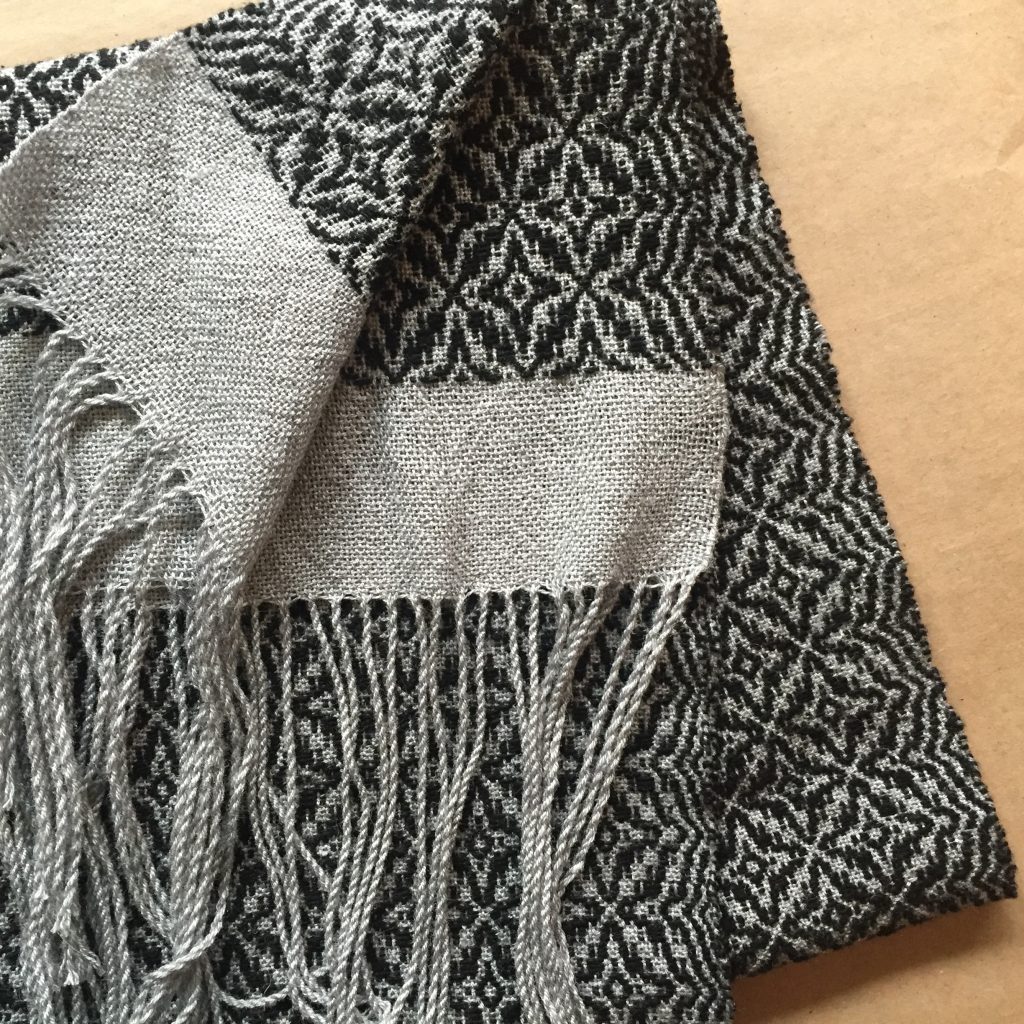
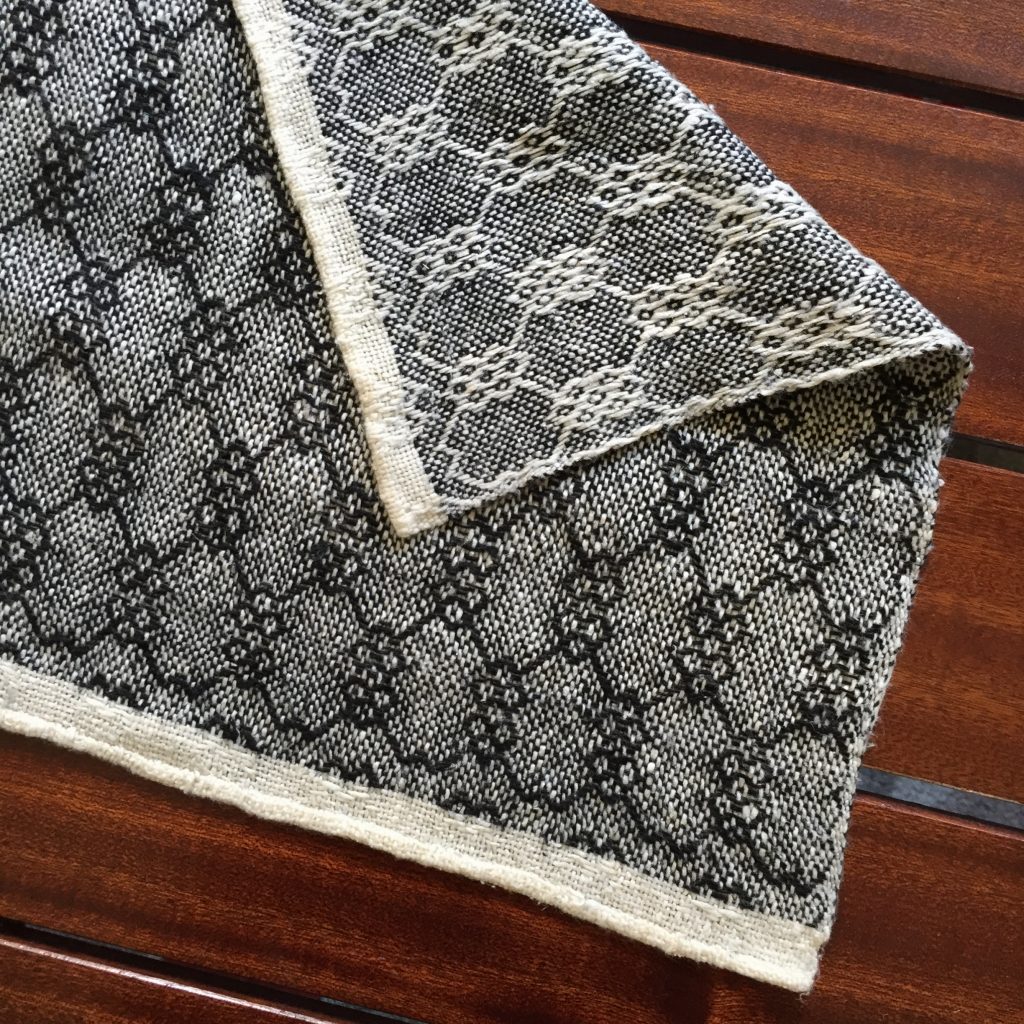
Overshot
View Gallery
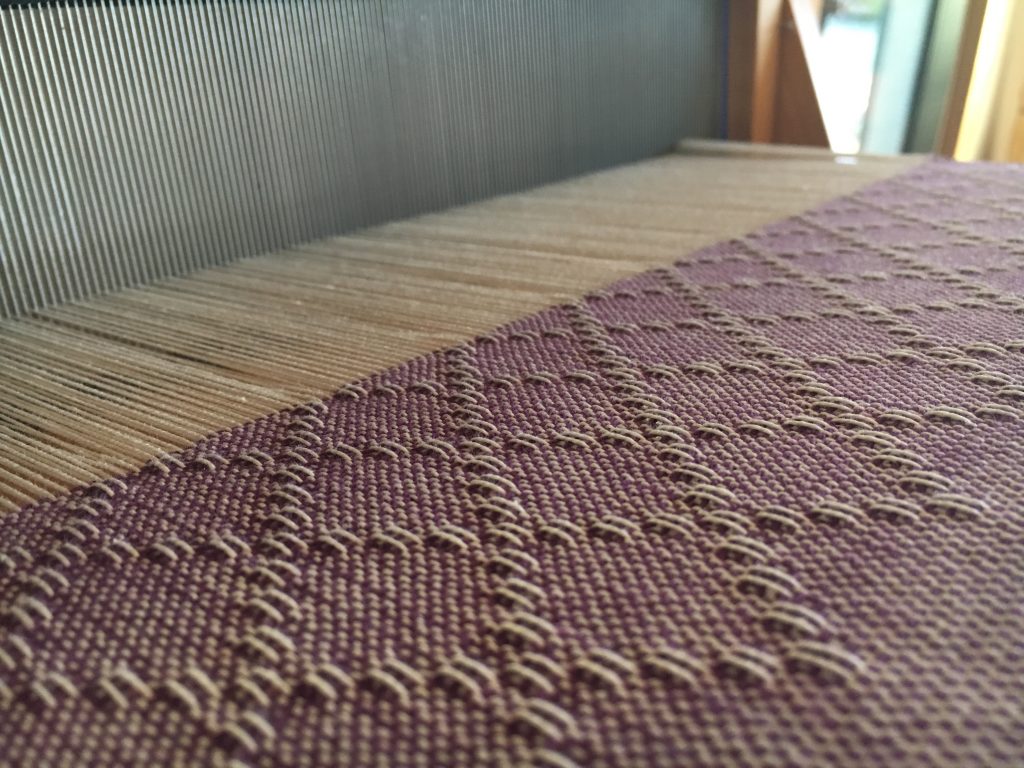
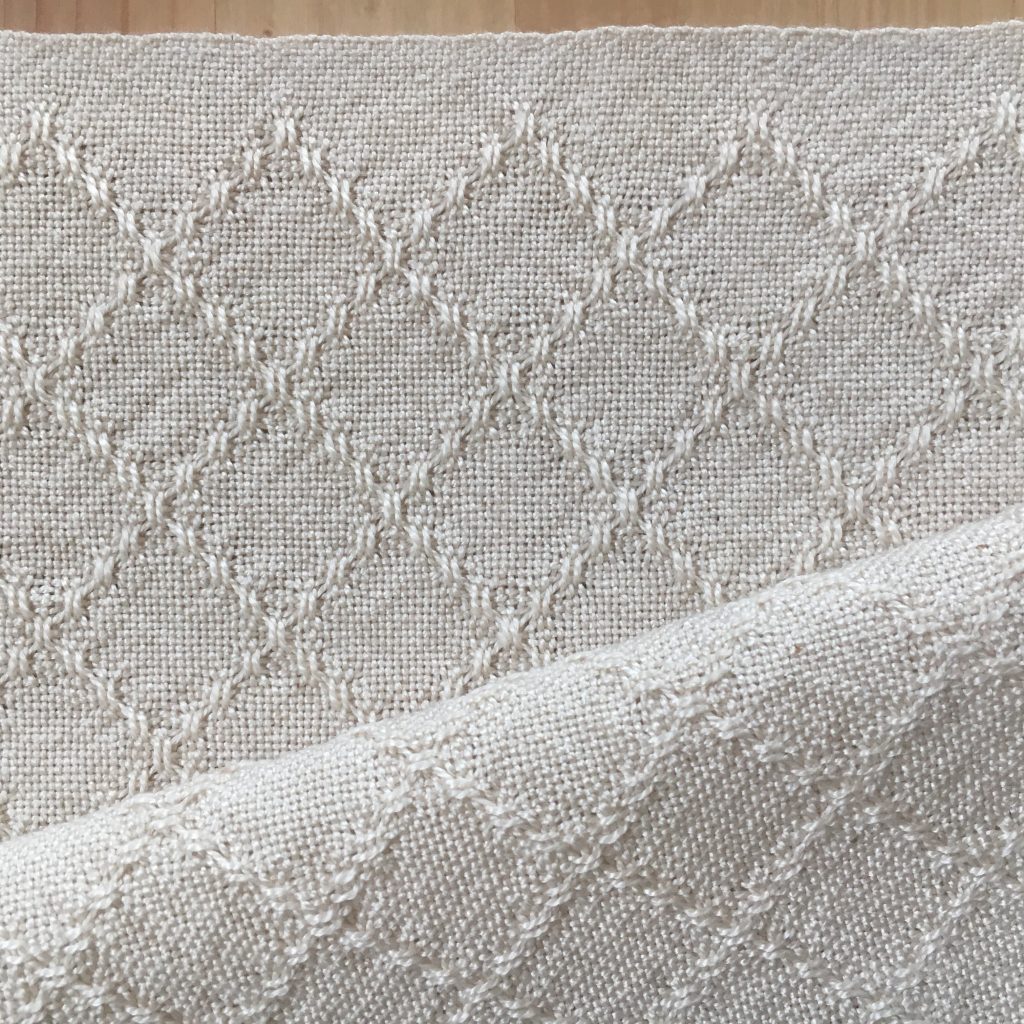
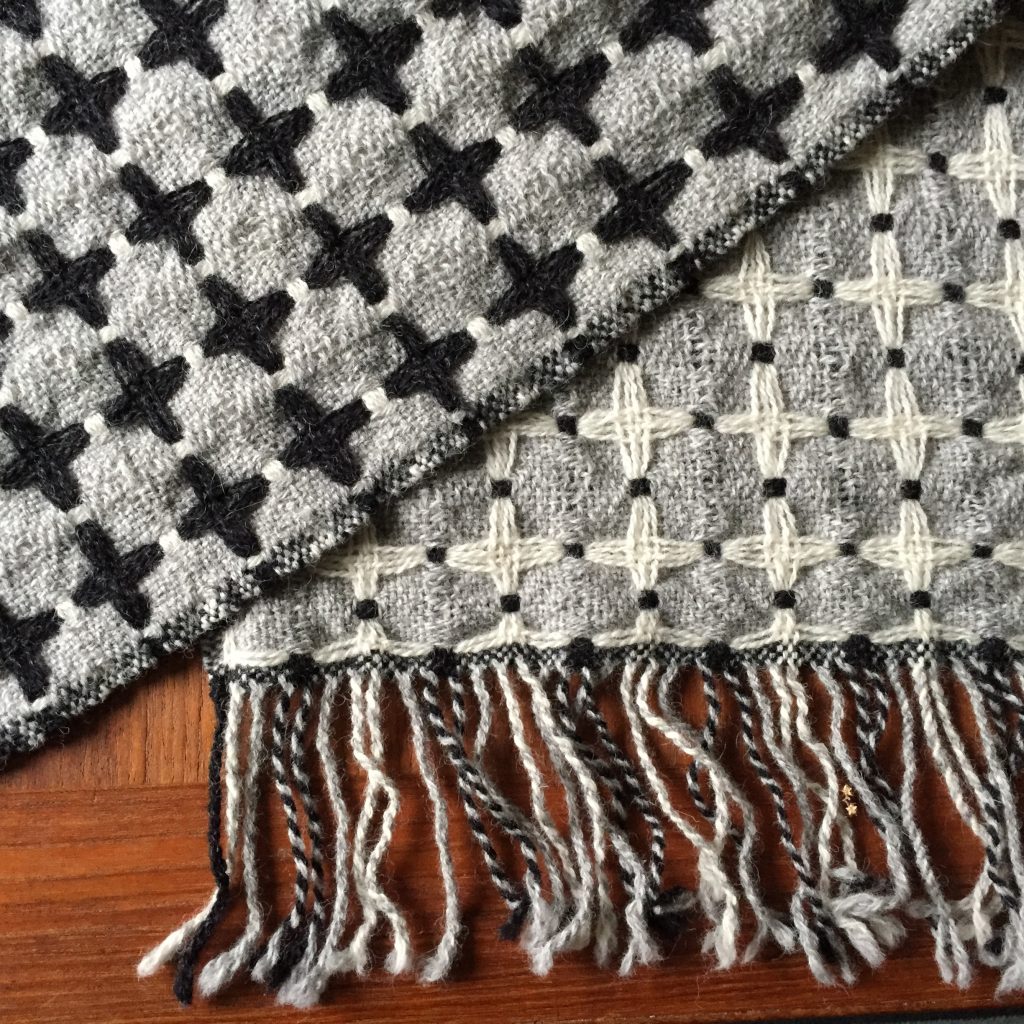
Lace Weaves
View Gallery
Deflected Doubleweave
View Gallery
Twills
View Gallery
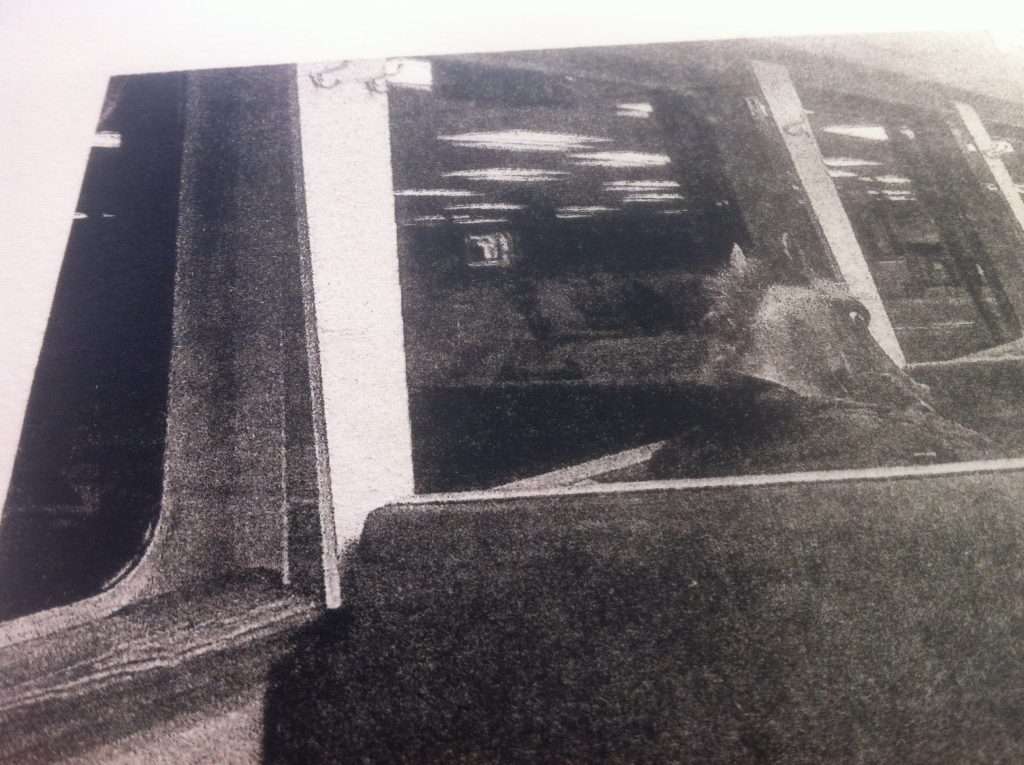
Lithography
View Gallery